
[Part 1] Hardware: Reincarnating a Secondhand Kiosk as a New One
1. Sourcing the Kiosk Body: Finding One on Karrot
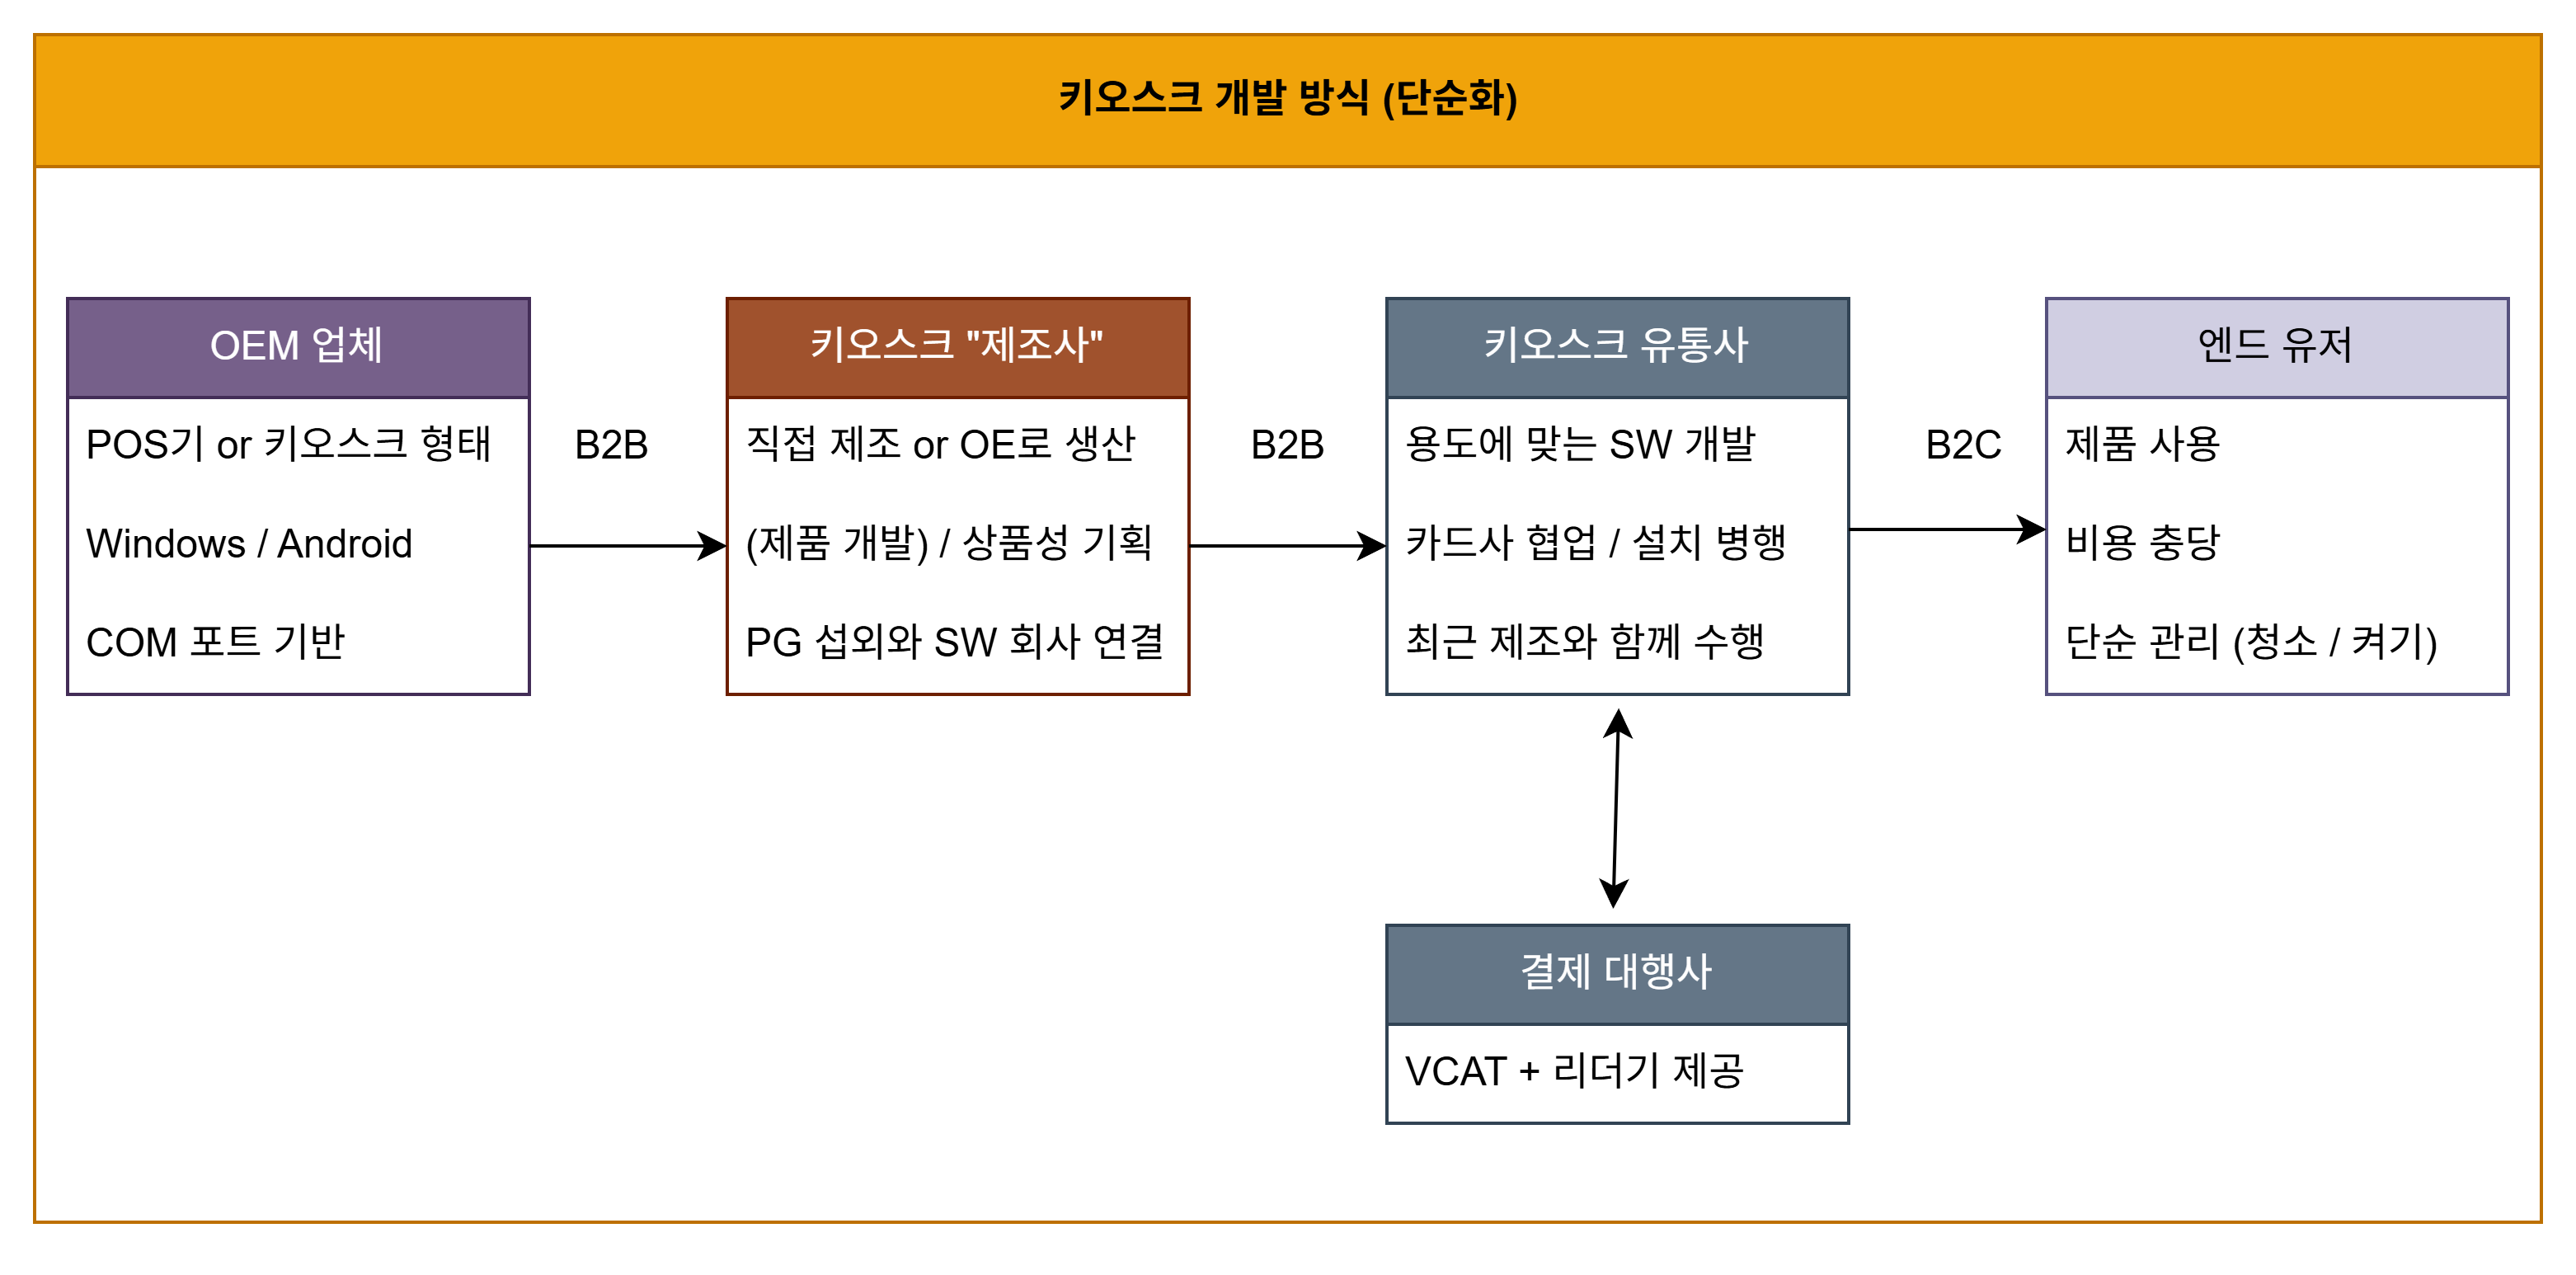
First, I had to learn how kiosks actually get distributed. It seems there are two kinds: units like mine, where a frame is bolted onto an off-the-shelf POS terminal, and units designed ground-up from scratch. The distribution chain looks like: POS-body vendor → B2B → kiosk manufacturer → (optionally) kiosk software vendor → end user — and since the software vendor’s kiosk software is required for the thing to actually work, it seems like most units follow this chain.
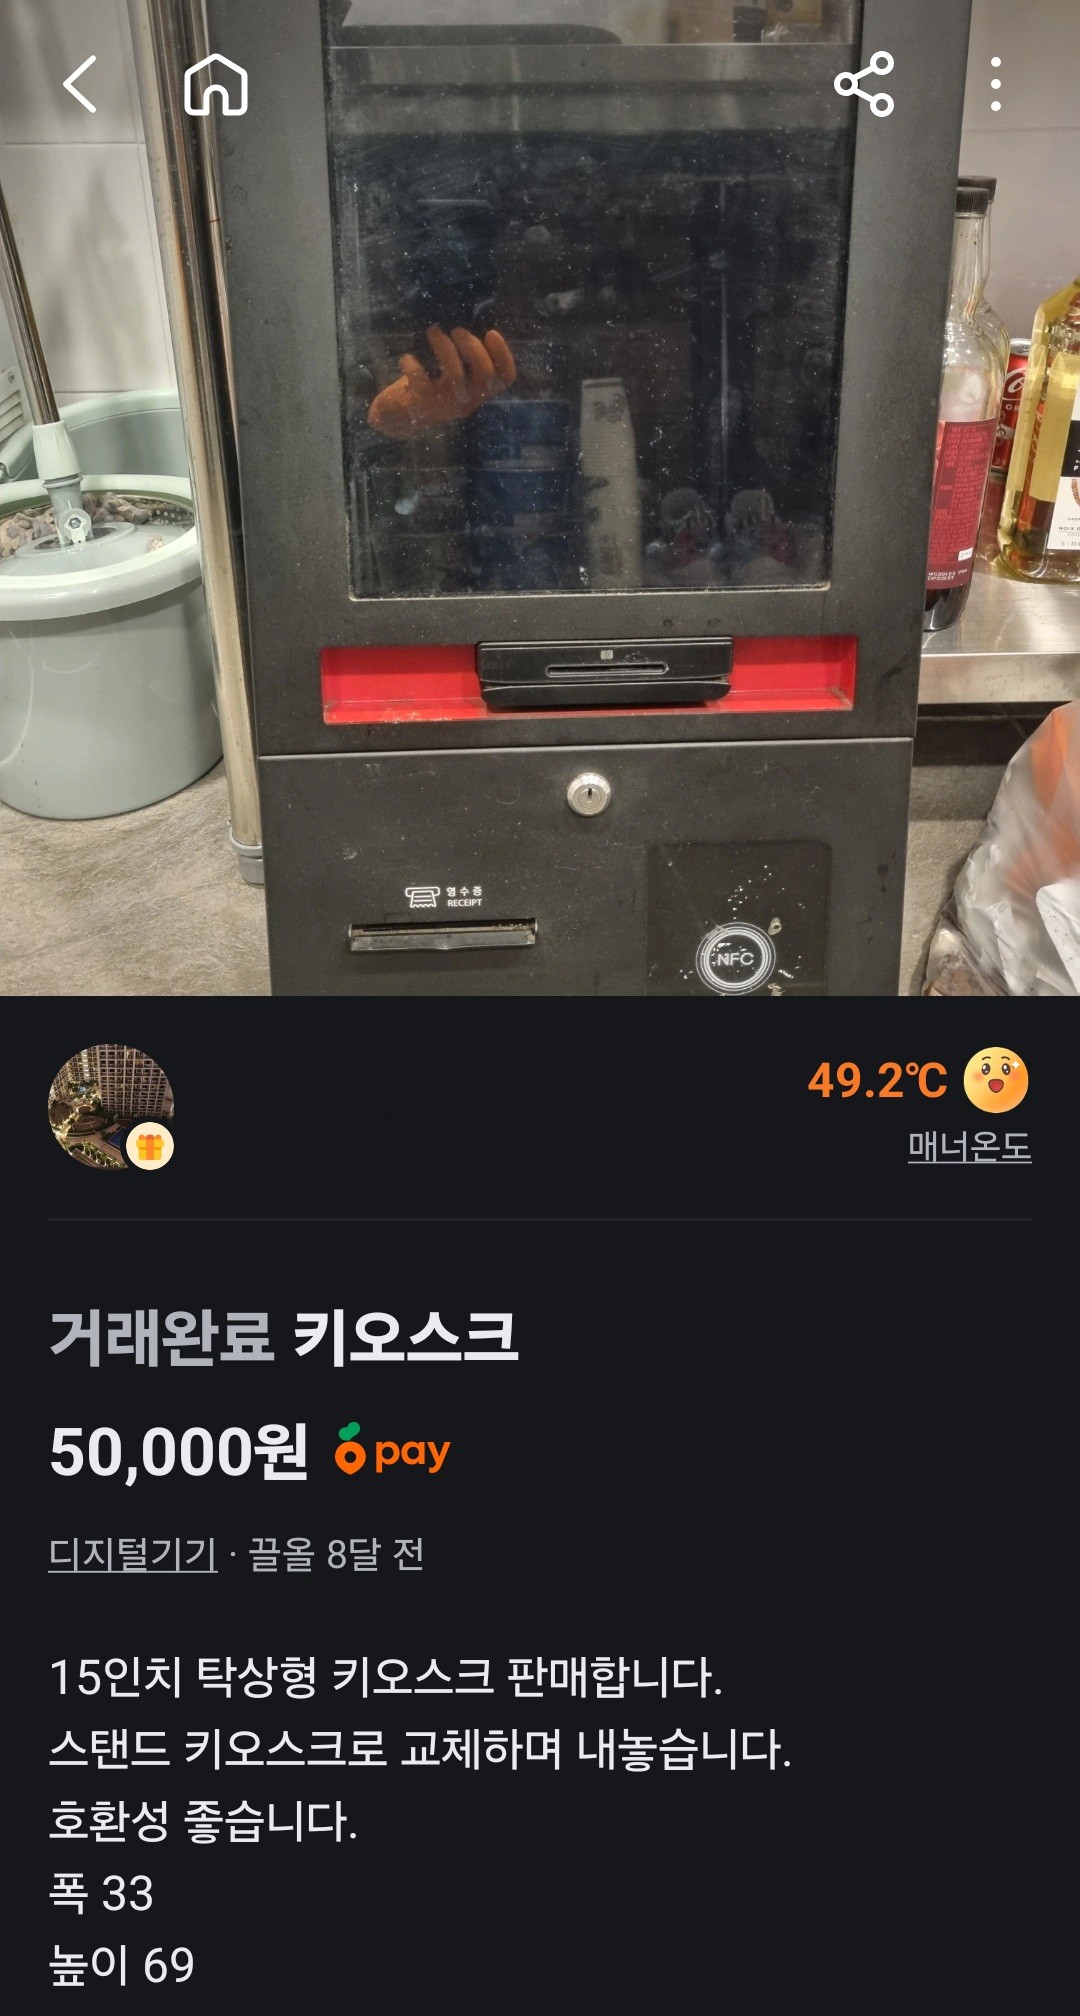
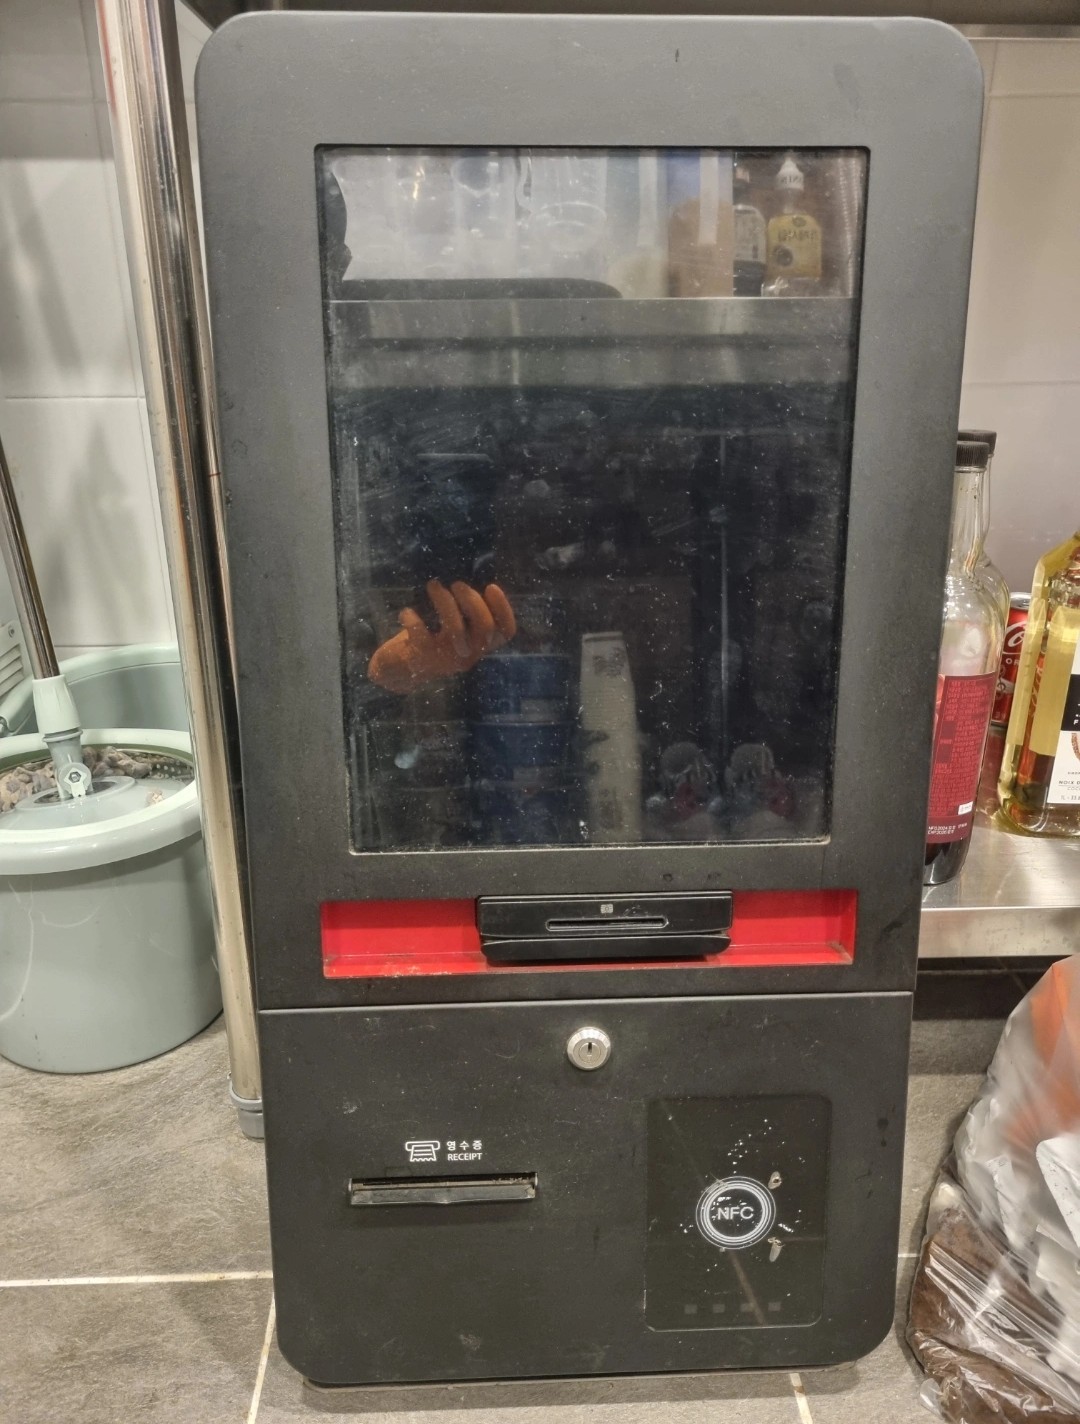
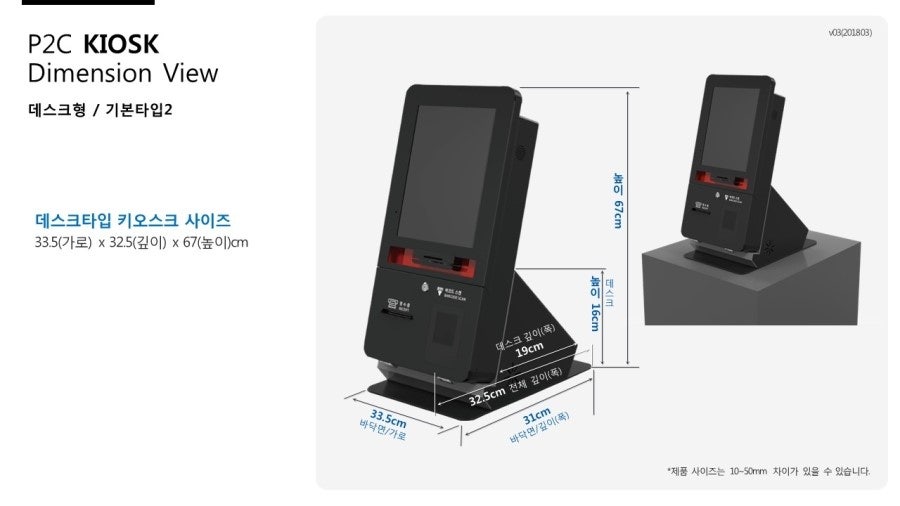
Mine is a Chinese-made 15-inch POS unit, sold under the model name J100 by a company called “P2C,” which fitted it with its own frame, printer, card reader, and stand. P2C appears to have since renamed/merged into a company called “IMU,” and since the model is quite old, calling their customer service to ask how to bring it back to life got me a rather startled response on the other end. It seemed to run Windows, and since it was only 50,000 KRW on Karrot, I skipped the deliberation and grabbed it right away.
 |
 |
Hardware Specs
- CPU: Intel Celeron J1900 (2013 Bay Trail)
- RAM/SSD: 4GB / 64GB — a hot-pluggable 2.5" SATA SSD
- I/O ports: COM ports (2× DE-9 style, 2× RJ-45 style)
- It shipped with Windows 10 build 2016; after backing up the existing drivers, I reformatted and installed Windows 10 LTSB 2016.
- It looked like it had originally run software for a jjamppong (noodle) restaurant.
2. Transplanting the Card Reader
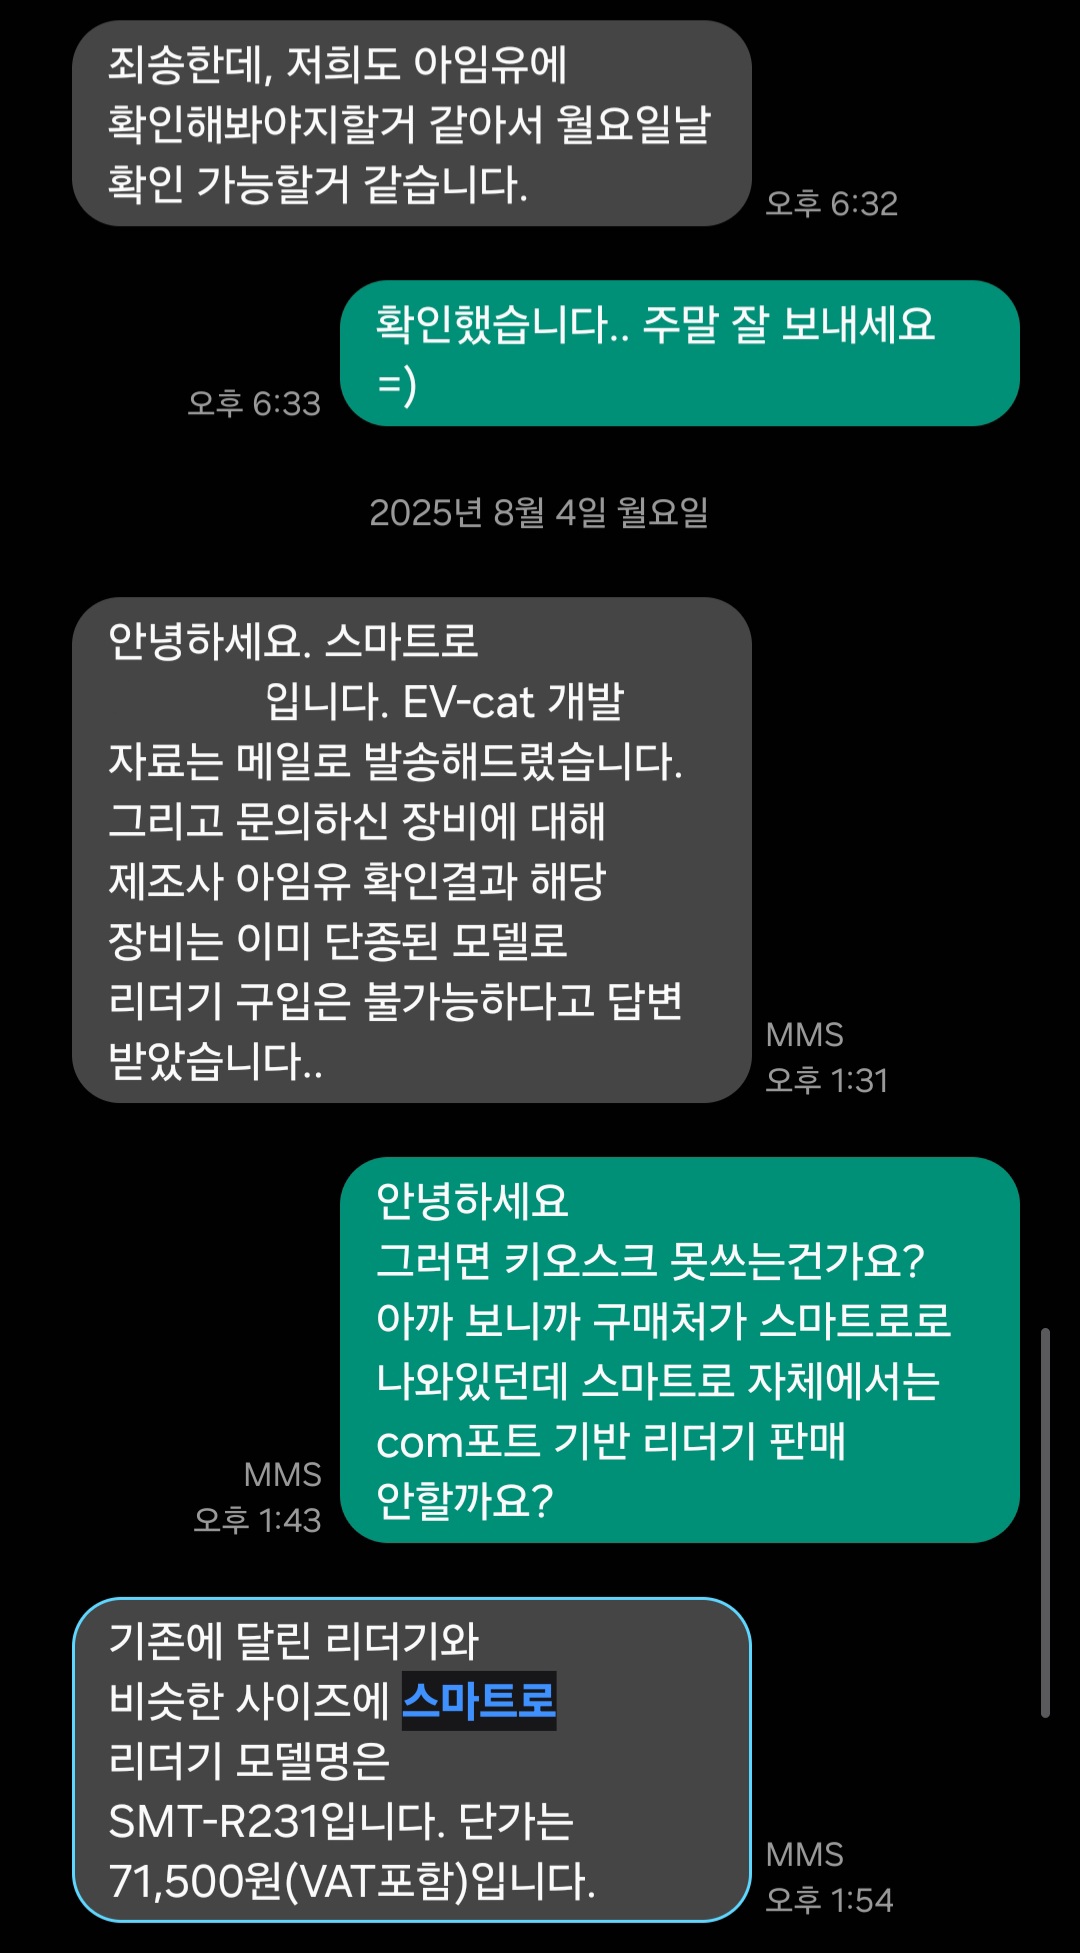
The hardest part by far was integrating the card reader and getting payments working. The unit originally had a Korea Information & Communications (KIS) reader with custom software (NICE VCAT) installed, but this parking lot uses SMARTRO for payments — a different company entirely.
Registering as a merchant with a new company requires a business registration certificate and a merchant review, which would have taken a while, so I reached out to Smartro directly, explained that I was developing this on my own at home, and got development materials from the VCAT software team at a nearby vendor.
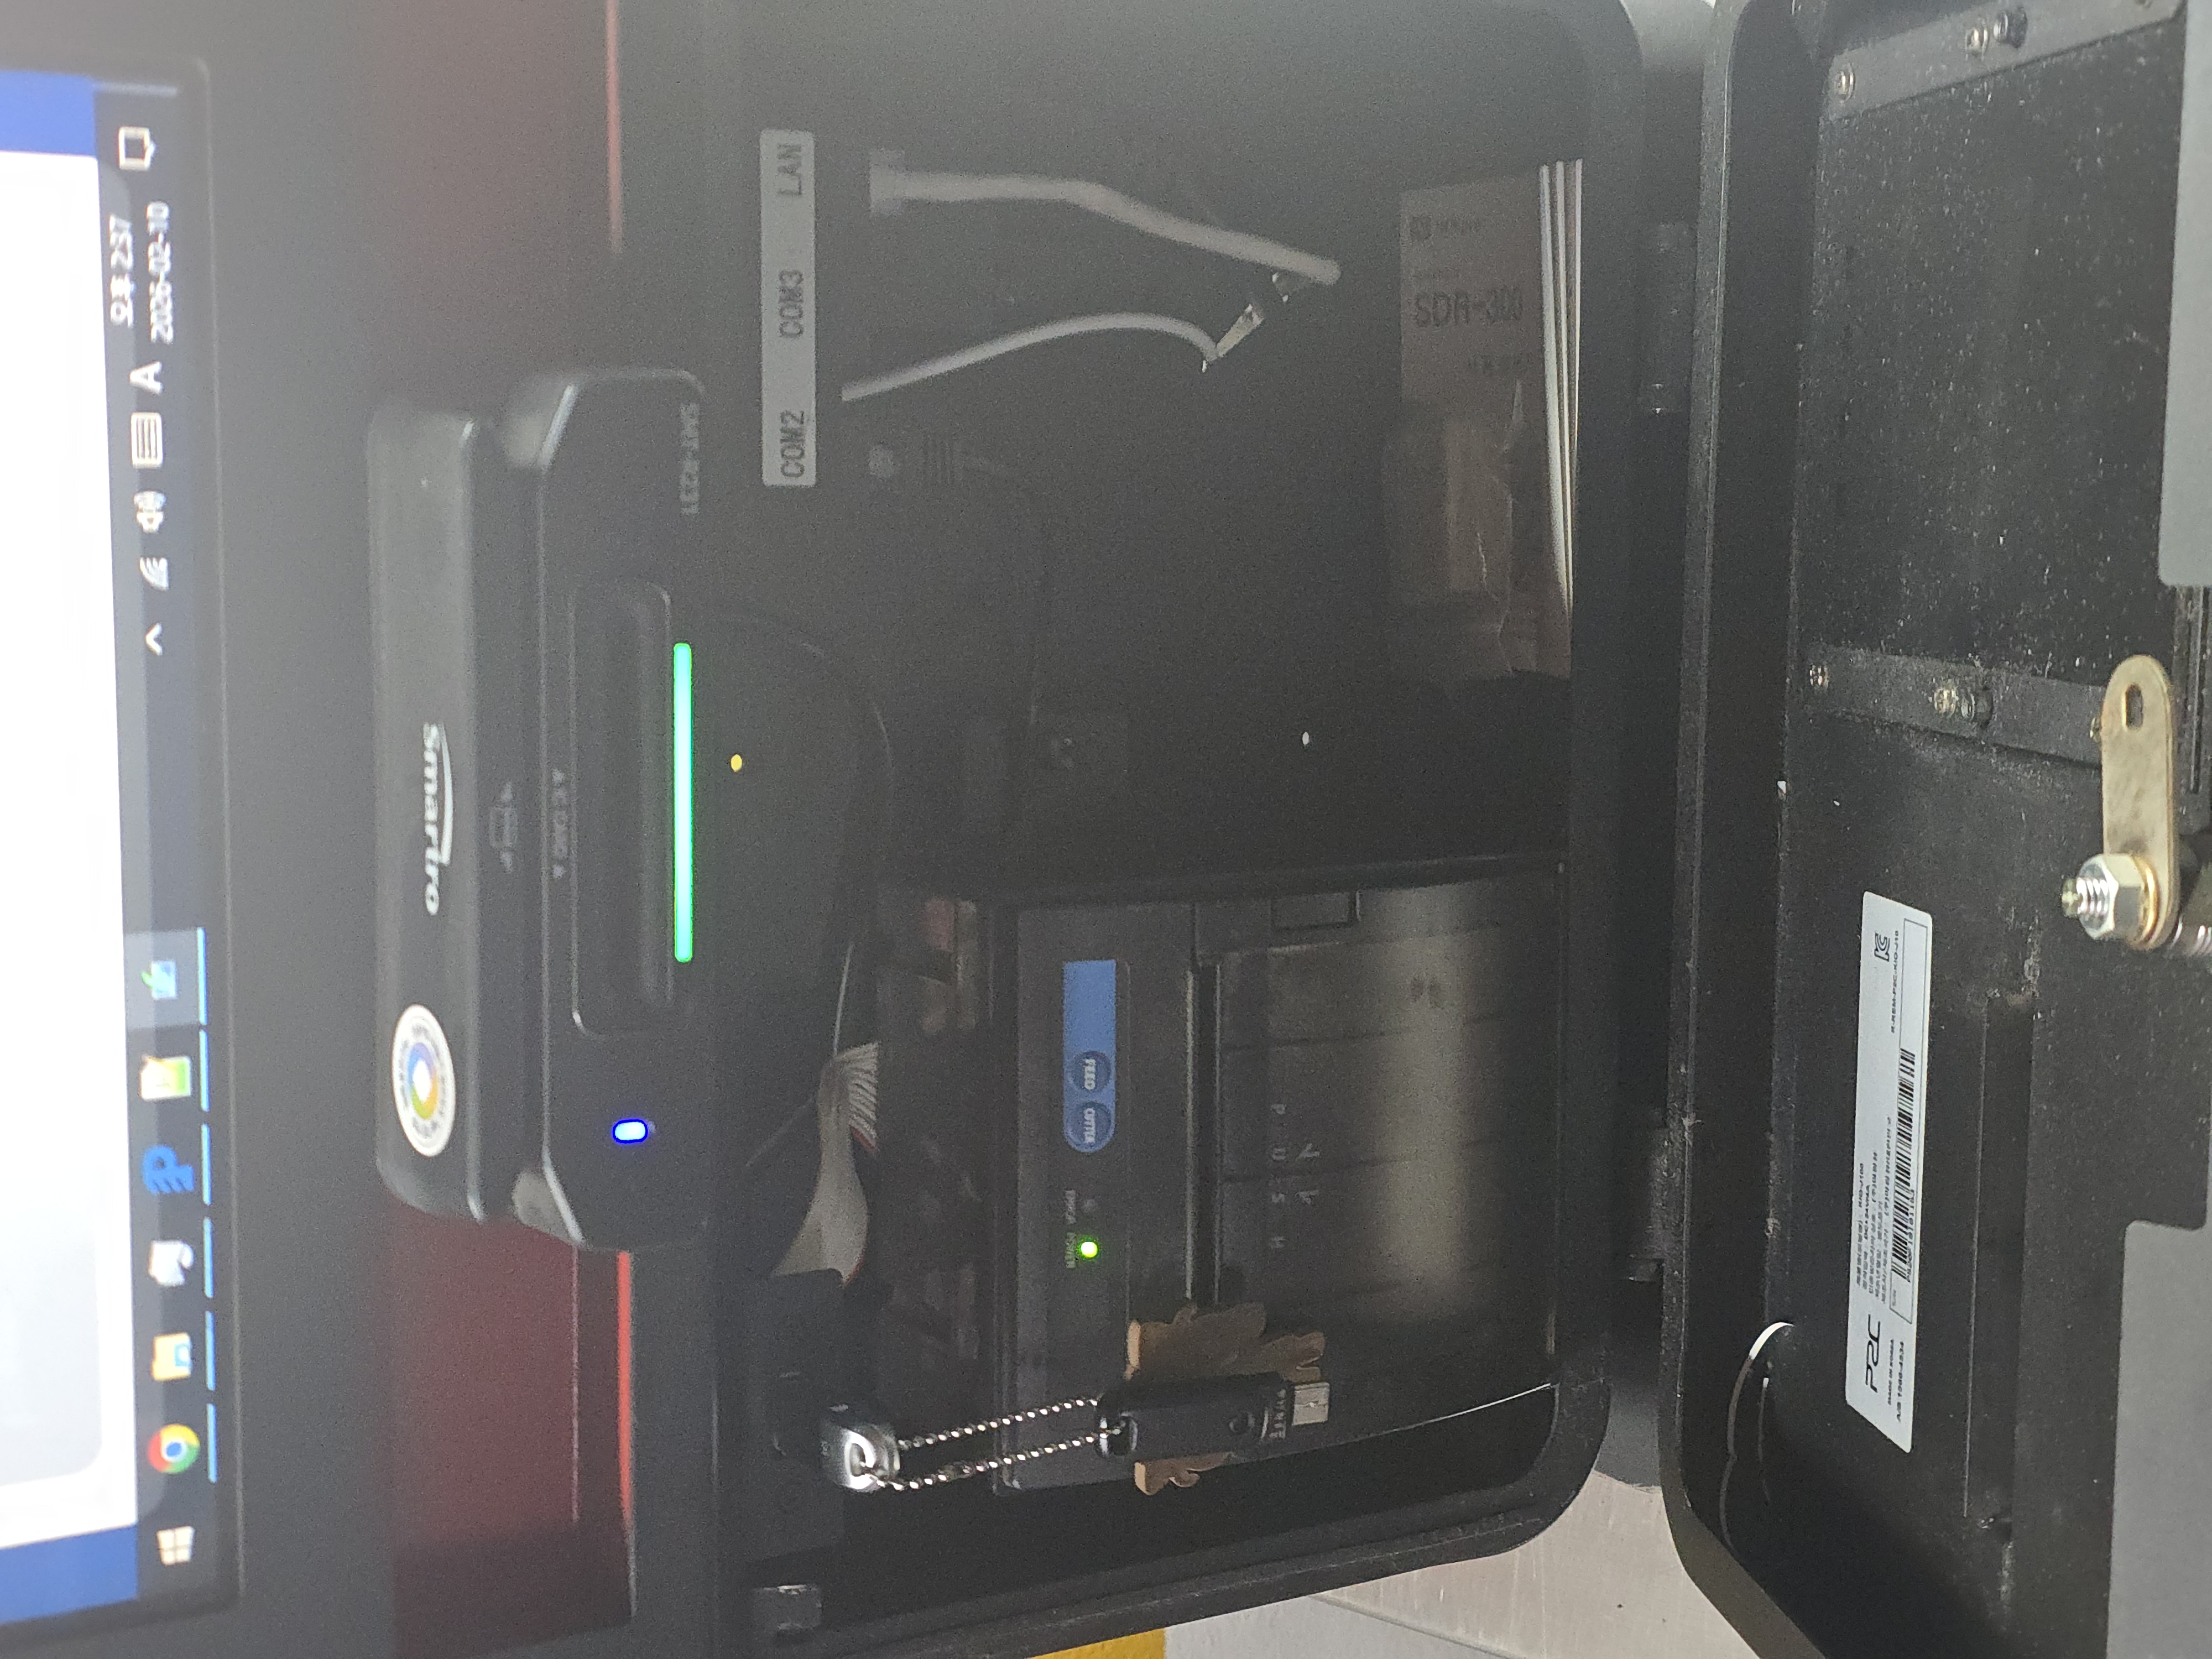
I assumed “card standards are standardized, so it’ll just work” — wishful thinking. Each company runs its own security standard, so the reader itself has to be swapped out, they told me. I bought a reader that matched the required standard — the SMT-R231 — and plugged it into COM1. There’s a matching piece of software for this device, Smartro EVCAT, which I’ll cover next time.
 |
 |
3. Receipt Printer and Peripheral Setup
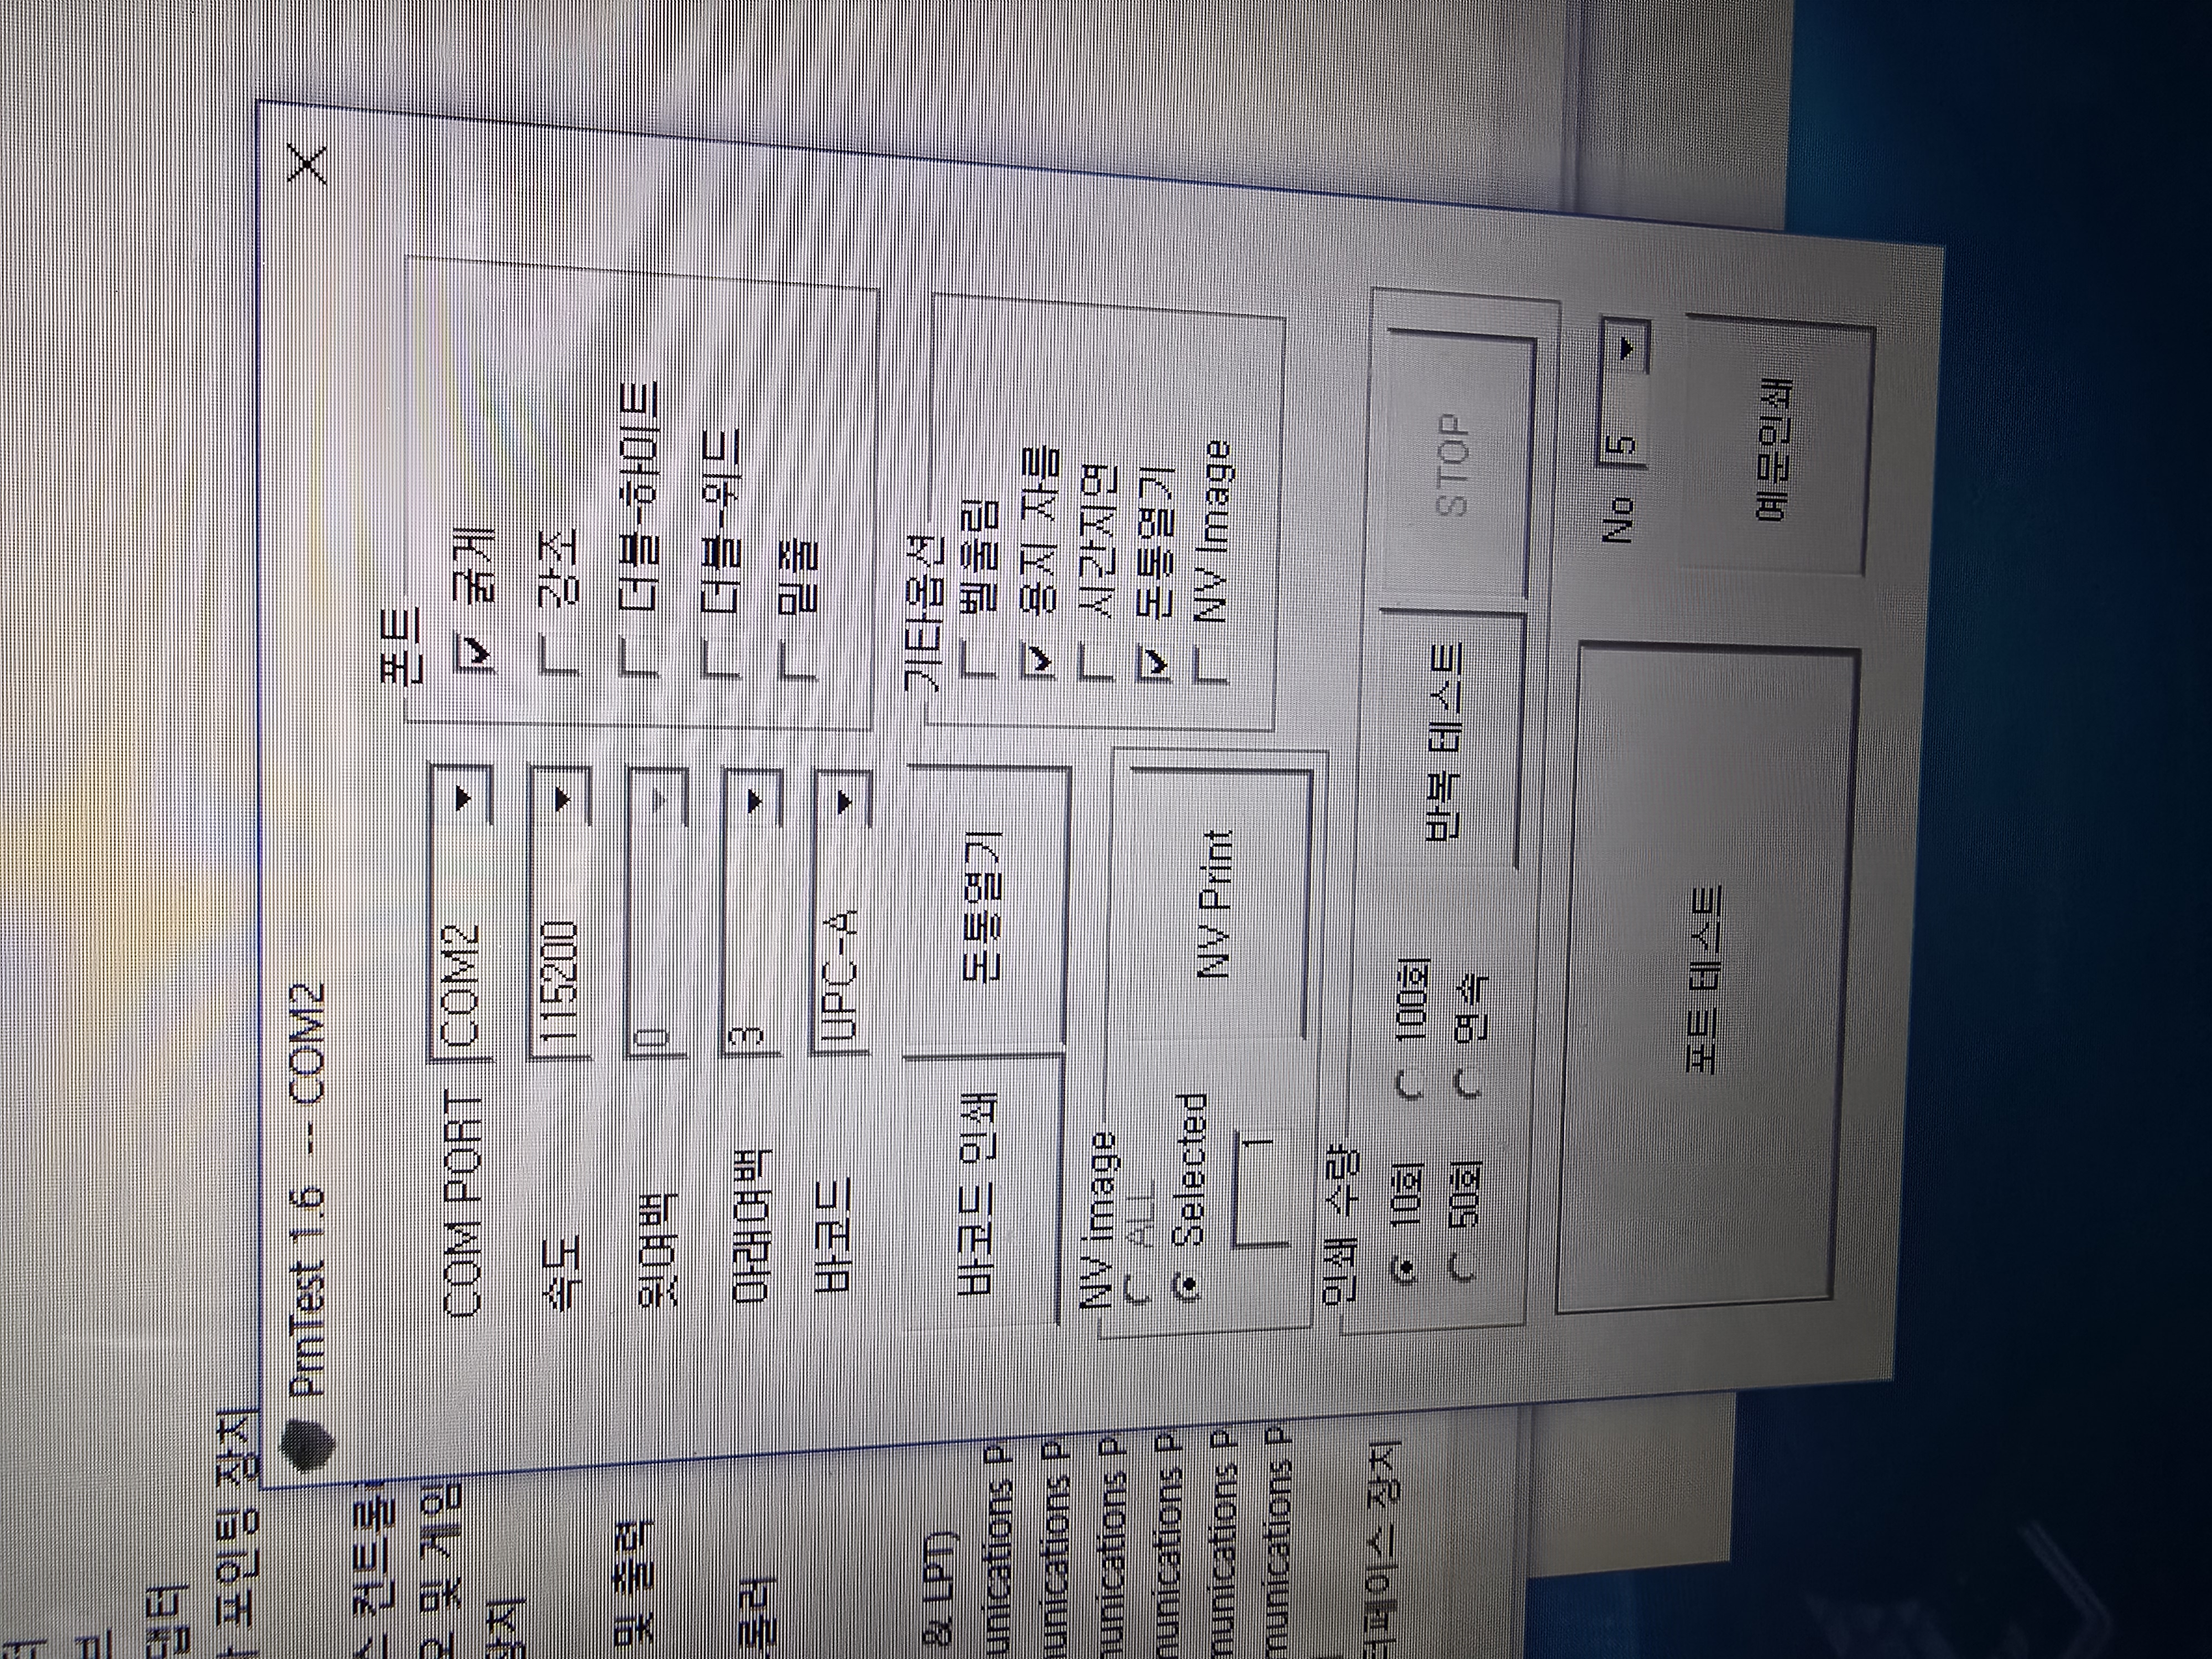
The receipt printer was a common 3-inch model supporting auto-cutting (half-cut, full-cut). I mounted it on COM2 and confirmed 115200N0 using the Printtest application that came pre-installed.
I also confirmed that the section labeled “NFC” was just left blank. Beyond that, I replaced the signature pad with on-screen signing, and shelved convenience-payment support as “to be implemented.” The unit also has a built-in beep speaker and an internal PSU.
For a surveillance camera, I initially tried a webcam mounted inside, but the CPU (J1900) couldn’t keep up and both the front end and support software got choppy, so I switched to an external camera instead.
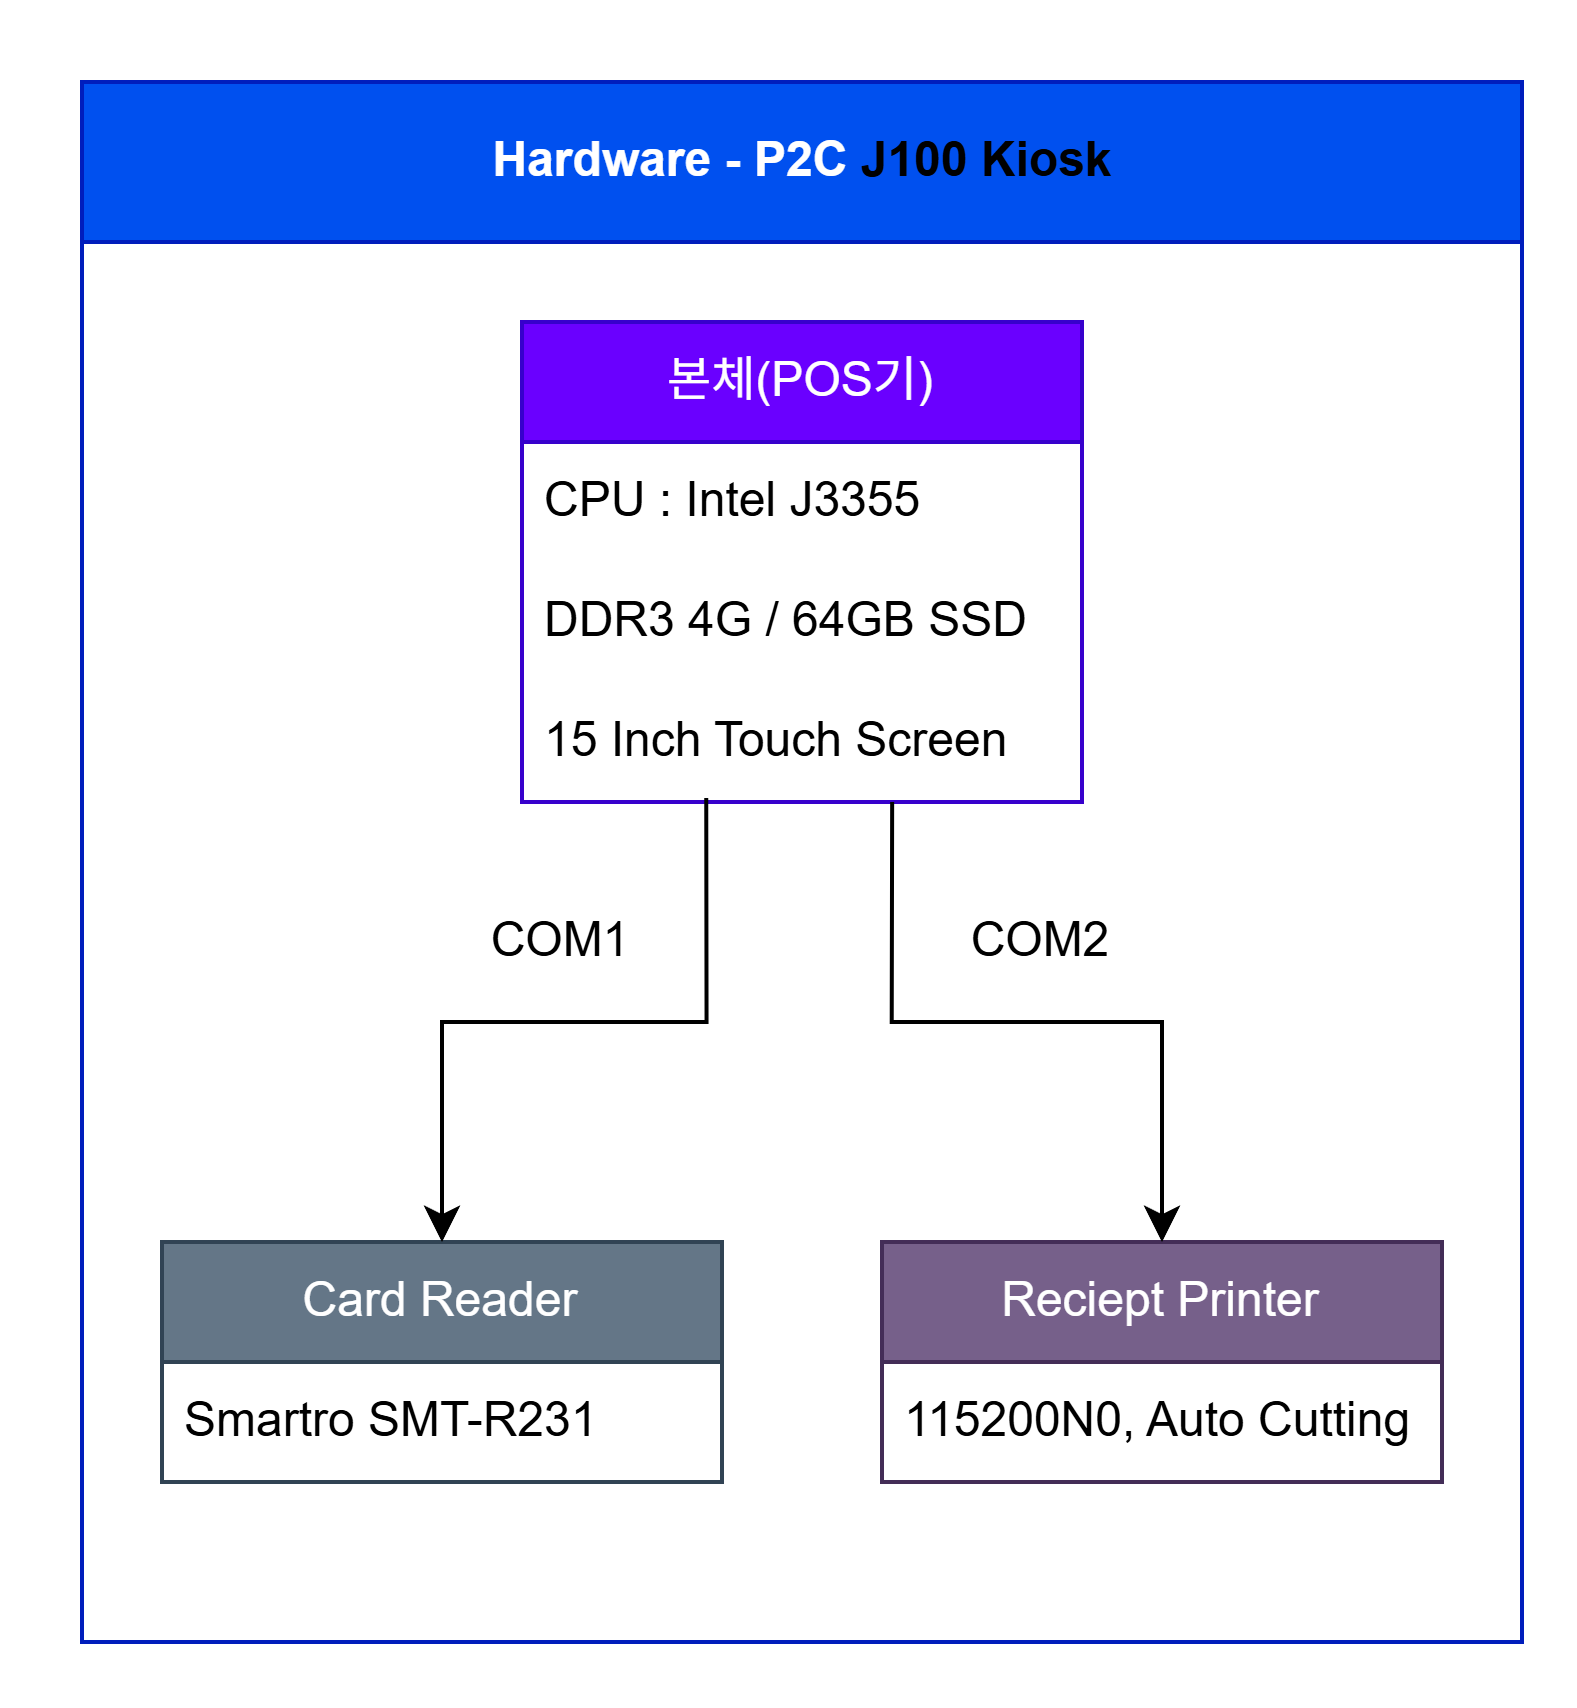
4. Hardware Diagram (Physical Layer)
- COM 1: Smartro card reader (for secure payments)
- COM 2: receipt printer (for output)
- USB/Internal: touch panel and beep speaker
- Power management: given a kiosk’s need to run 24/7, I checked the stability of the power supply.
6. Wrap-Up and What’s Next
Next time: integrating the EVCAT software provided by Smartro, the Flutter app’s architecture, and database setup and security measures.